Thursday, December 29, 2016

Happy 2017 Tilda

Hello my friends, hope you are enjoying the holiday season with family and friends.  I am still trying to recover from Christmas, it came and went.  Wow, where has this year gone?  We are a couple of days away from 2017, crazy how time is flying by.  Today I want to share a desk calendar using Happy 2017 Tilda.  She was released a month or so ago and I love her.  She is ready to celebrate 2017 for sure. I used my copic markers to color this cutie up.  I masked her off to add the fireworks background stamp from My Creative Time.   I added designer papers from Carta Bella Amour collection which is one of my favorite collections.  She is holding a glass of champagne or sparking cider, so I added the glass from magnolia's advent calendar.  The heart border and Fabulous die are from La La Land Crafts which I thought would be perfect for this desk calendar.  


Copic Colors used:
Skin: E13, 11, 00, 000
Hair: E18, 15, YR23, Y11
Pink:R89, 85, 83, 81

Hope this project brings some inspiration for you to get crafty.  Thanks for stopping by.  

Challenges I am entering:


Thursday, December 15, 2016

Christmas Card with The Papernest Dolls

Hello my friends, thanks for stopping by.  Today I have a card share using The PaperNest Dolls  digital Snowman Avery image.  I'm still working on Christmas cards,  I can see the light lol.  On to my card, I found an old DCWV  Christmas paper stack in my stash so I decided to  use it for this card.  I really need to stop hoarding paper pads.  I colored Ms. Snowman Avery with my copics
after printing the image out on X-press It Blend card stock.
Copic Colors I used:
Skin: E18, 15, 13, 11
Hair: E27, 25, 23, 21
Green: YG67, 17, 25
Red: R59, 29, 24
Black: C9, 7, 5, 3,1 

I added a snowflake border and postage die cut from La La Land Crafts.  The sentiment is from a set I found in my stash.  Check out The Papernest  Dolls website for this and other cute digital/rubber stamp images.   Well that's all for now, thanks for stopping by.  


Wednesday, December 14, 2016

Advent Calendar Event featuring Scrapper's Delight

Happy Hump day friends, thanks for stopping by.  Scrapper's Delights is sponsoring the Kit and Clowder Facebook group advent calendar for the day. Today's image is all about Santa and the reindeers.  You can pick up this image for free if you head over to the Kit and Clowder Facebook group.  


Now on to my project, I decided to create a Easel Desk mini album using the freebie image to hold my Christmas pictures.  I used a you tube tutorial which you can find here.  I colored the image using my copics and added it to the album.  I love the way this turned out, definitely will be making another one for sure.   I will keep this album on my desk at work.    Check out the  additional pictures below of the album.  Make sure you head over to the Kit and Clowder Facebook group and pick up this image.  That's all for now, thanks for stopping by.  


Monday, December 12, 2016

Poinsettia Tilda Christmas Card

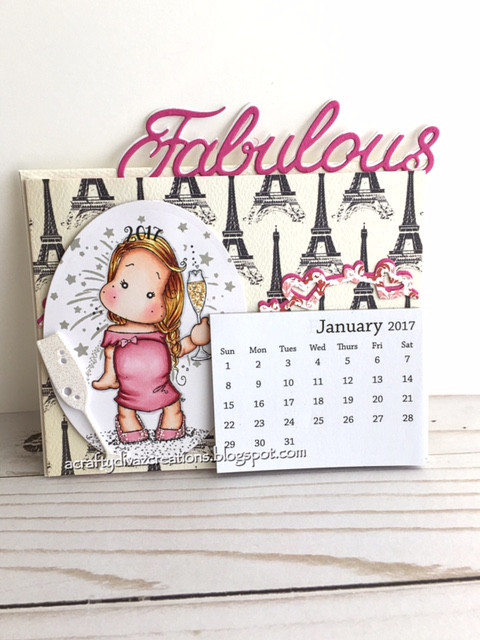
Hello my friends, thanks for stopping by.  It's Monday, yes Monday and the weekend went by so quickly.  I just need one more day..... one more day to craft.  I am definitely looking forward to the end of the year when I can get some time off so I can craft until the wee hours.  How many of you have completed your Christmas cards?  Well if you have, my hats off to you.  I am still working on Christmas cards, I started late what can I say.   Here is a card that I created using the new 
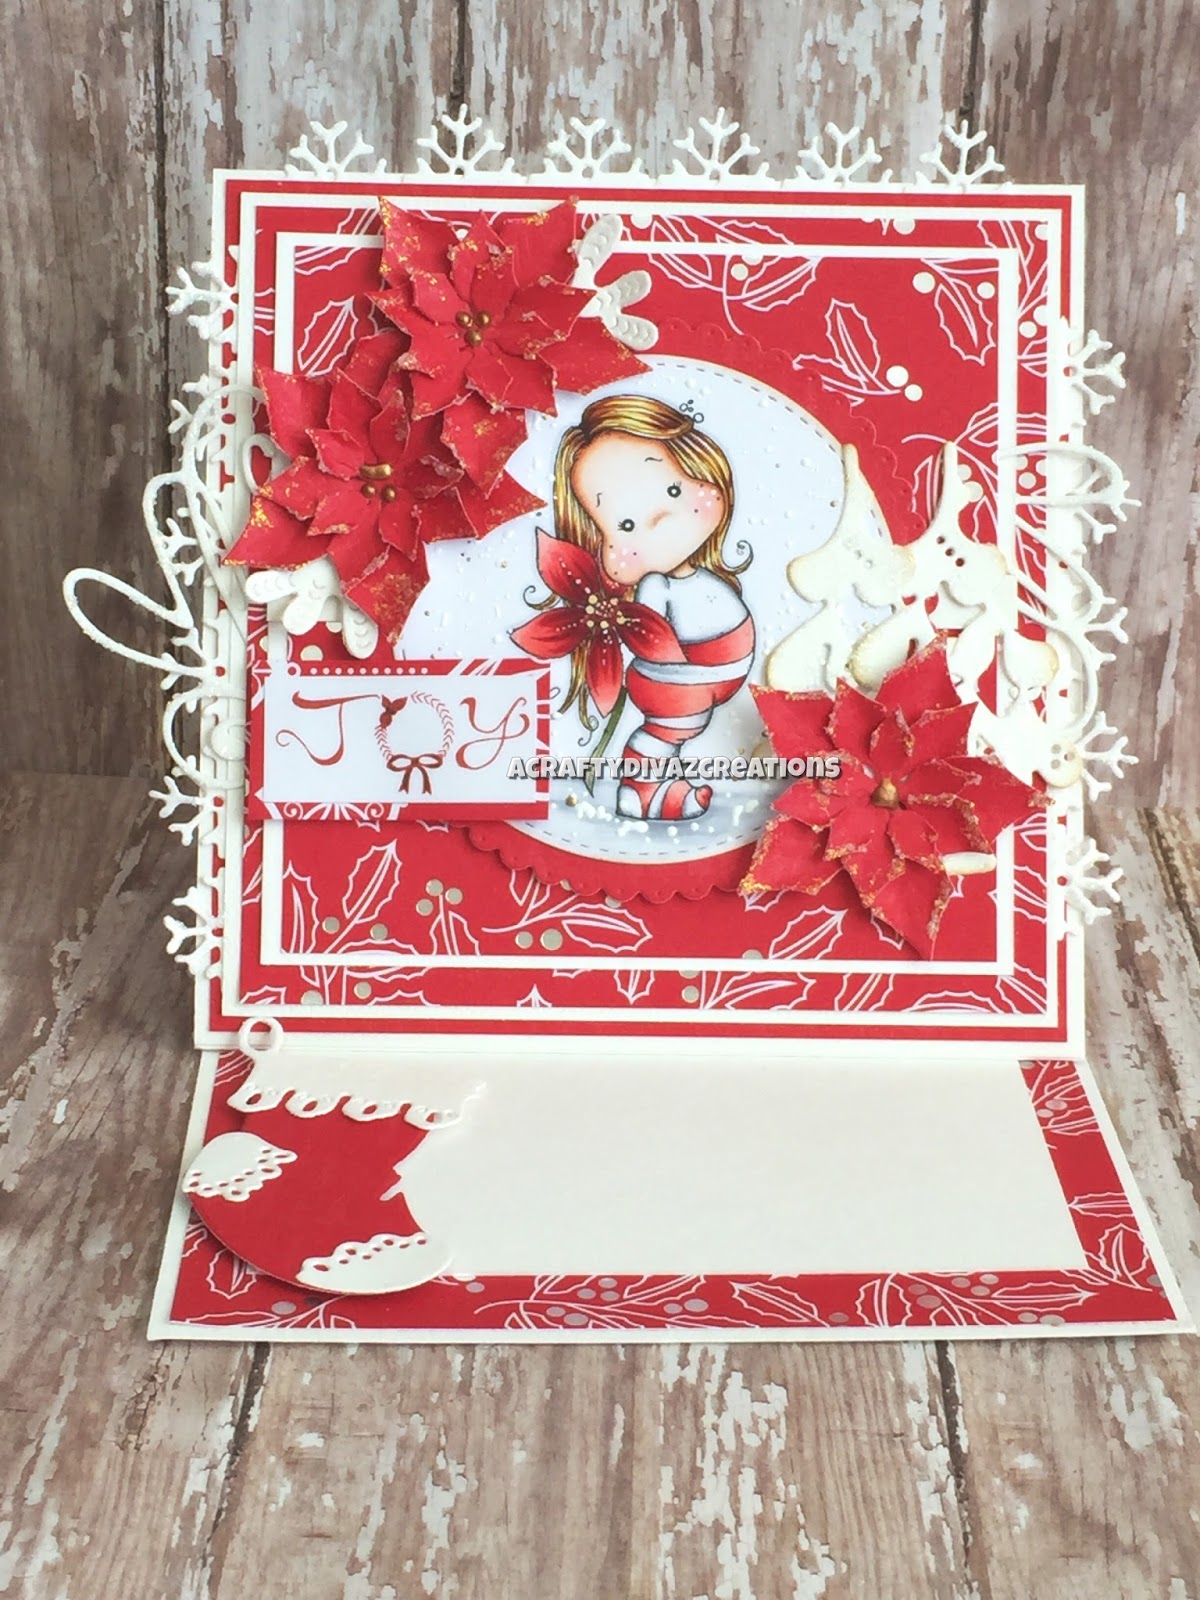
Poinsettia Tilda.  She is such a cutie and I love she is holding a poinsettia behind her back.  I created a easel card and colored the image with my copics (colors used are below).  I used designer papers from a new paper pad I purchased at my local craft store.  The snowflake borders and the winter trees dies are from the Doohickey club volume 2.  I wanted to add poinsettia around the image and I used the poinsettia die from spellbinders.  I added nuevo copper penny crystal drops to create the inside of the poinsettia's and add dimension.  The sentiment is from the designer paper stack.  The inside of the card, I added the stocking from the Doohicky Club volume two as a "stopper".  All I need to do is add a personal message and this card will go in the mail.  That's all for today, hope this provides some Christmas inspiration.

Copic Colors used:
Skin: E13, 11, 00, 000, 0000
Hair: E18, 15, YR23, Y11
Red: R39, 29, 24, 22, 20
White: C5, 3, 1, Colorless Blender
Yellow: YR21

Thursday, December 8, 2016

Prima Inspired Christmas Tags

Hello my friends, thanks for stopping by.  Today I want to share  Christmas Tags inspired by Frank Garcia from Prima.  I've always wanted to create some of these tags either on my own or in one of Frank's classes.  Well, his classes are not in my neck of the woods.  So I decided to pull out my stash and create the christmas tags that are created in his classes using the sweet peppermint collection by Frank.  I love this collection, who I am kidding I love all of Frank's collections.  Now on to my tags, I created.  I love the way these tags turned out, I truly used items from my stash.


I hope this brings some inspiration to pull out your stash and create.  That's all I have for now, thanks for stopping by.

Wednesday, December 7, 2016

Tilda with Holiday Sweater

Hello my friends,  Happy Hump day!  The weekend is just around the corner, just a couple of more days.  I am still cranking out those Christmas projects and today's share is a Christmas card using the cute Magnolia Tilda with Holiday Sweater.  I love this cute stamp, especially the Rudolph on the sweater.  I wanted to use a new paper collection I picked up from my local craft store.   I colored her up using my copics and die cut the image out using La La Land Crafts stitched circle die and paired it with La La Lands Crafts pierced scalloped circle die.  

Copic Colors Used:
Skin: E13, 11, 00, 000, 0000
Hair: E18, 15, YR23, Y11
Sweater: C3, 1, 0, E27, 25, 23, R29, 24
Red: R39, 29, 24

The other dies I used for this card are: Precious Marieke Snowflake Border die, La La Land Crafts Lamp Post, La La Land Crafts Reindeer 1, and Magnolia My Love Heart Doohickey.   I am in love with this little girl, makes for a super cute Christmas card.  That's all I have for now, Thanks for stopping by.  

Challenges I am entering this card:

Monday, December 5, 2016

Santa Ellie with Gift-The Paper Nest Dolls

Happy Monday my friends, thanks for stopping by.  Today I have a Christmas project to share with you using Santa Ellie with Gift by The Paper Nest Dolls.  Christmas is just around the corner, so I am working on my Christmas projects feverishly before time runs out.  One of the items I love to alter are gift bags.  They are really inexpensive and you can use the items you have in your stash to really decorate it up.   I picked up this cute gift bag from my local craft store.  I decided to use some graphic 45 Christmas paper called 12 days of Christmas that I've had in my stash for quite some time.  This paper stack is an older collection but I love the colors of this collection.  I colored Santa Ellie with my copics.  

Copic Colors used:
Skin: E15, 13,11
Hair: C9, C7,C5, C3
Red: R59, 35, 27, 24
Green: G28, 26, 24

I added some frontage around the image.  I then added the small ornate border by LaLa Land Crafts to the top of the bag.  The Merry Christmas sentiment is from a die by Pink and Main.  The flowers are from prima's Victorian Christmas collection.  All that is left is to add a gift and a tag to the recipient.  Check out The Papernest Dolls store for this and other cute images you can use on your projects.  I hope this gives you some inspiration for your holiday projects.  Thanks for stopping by!